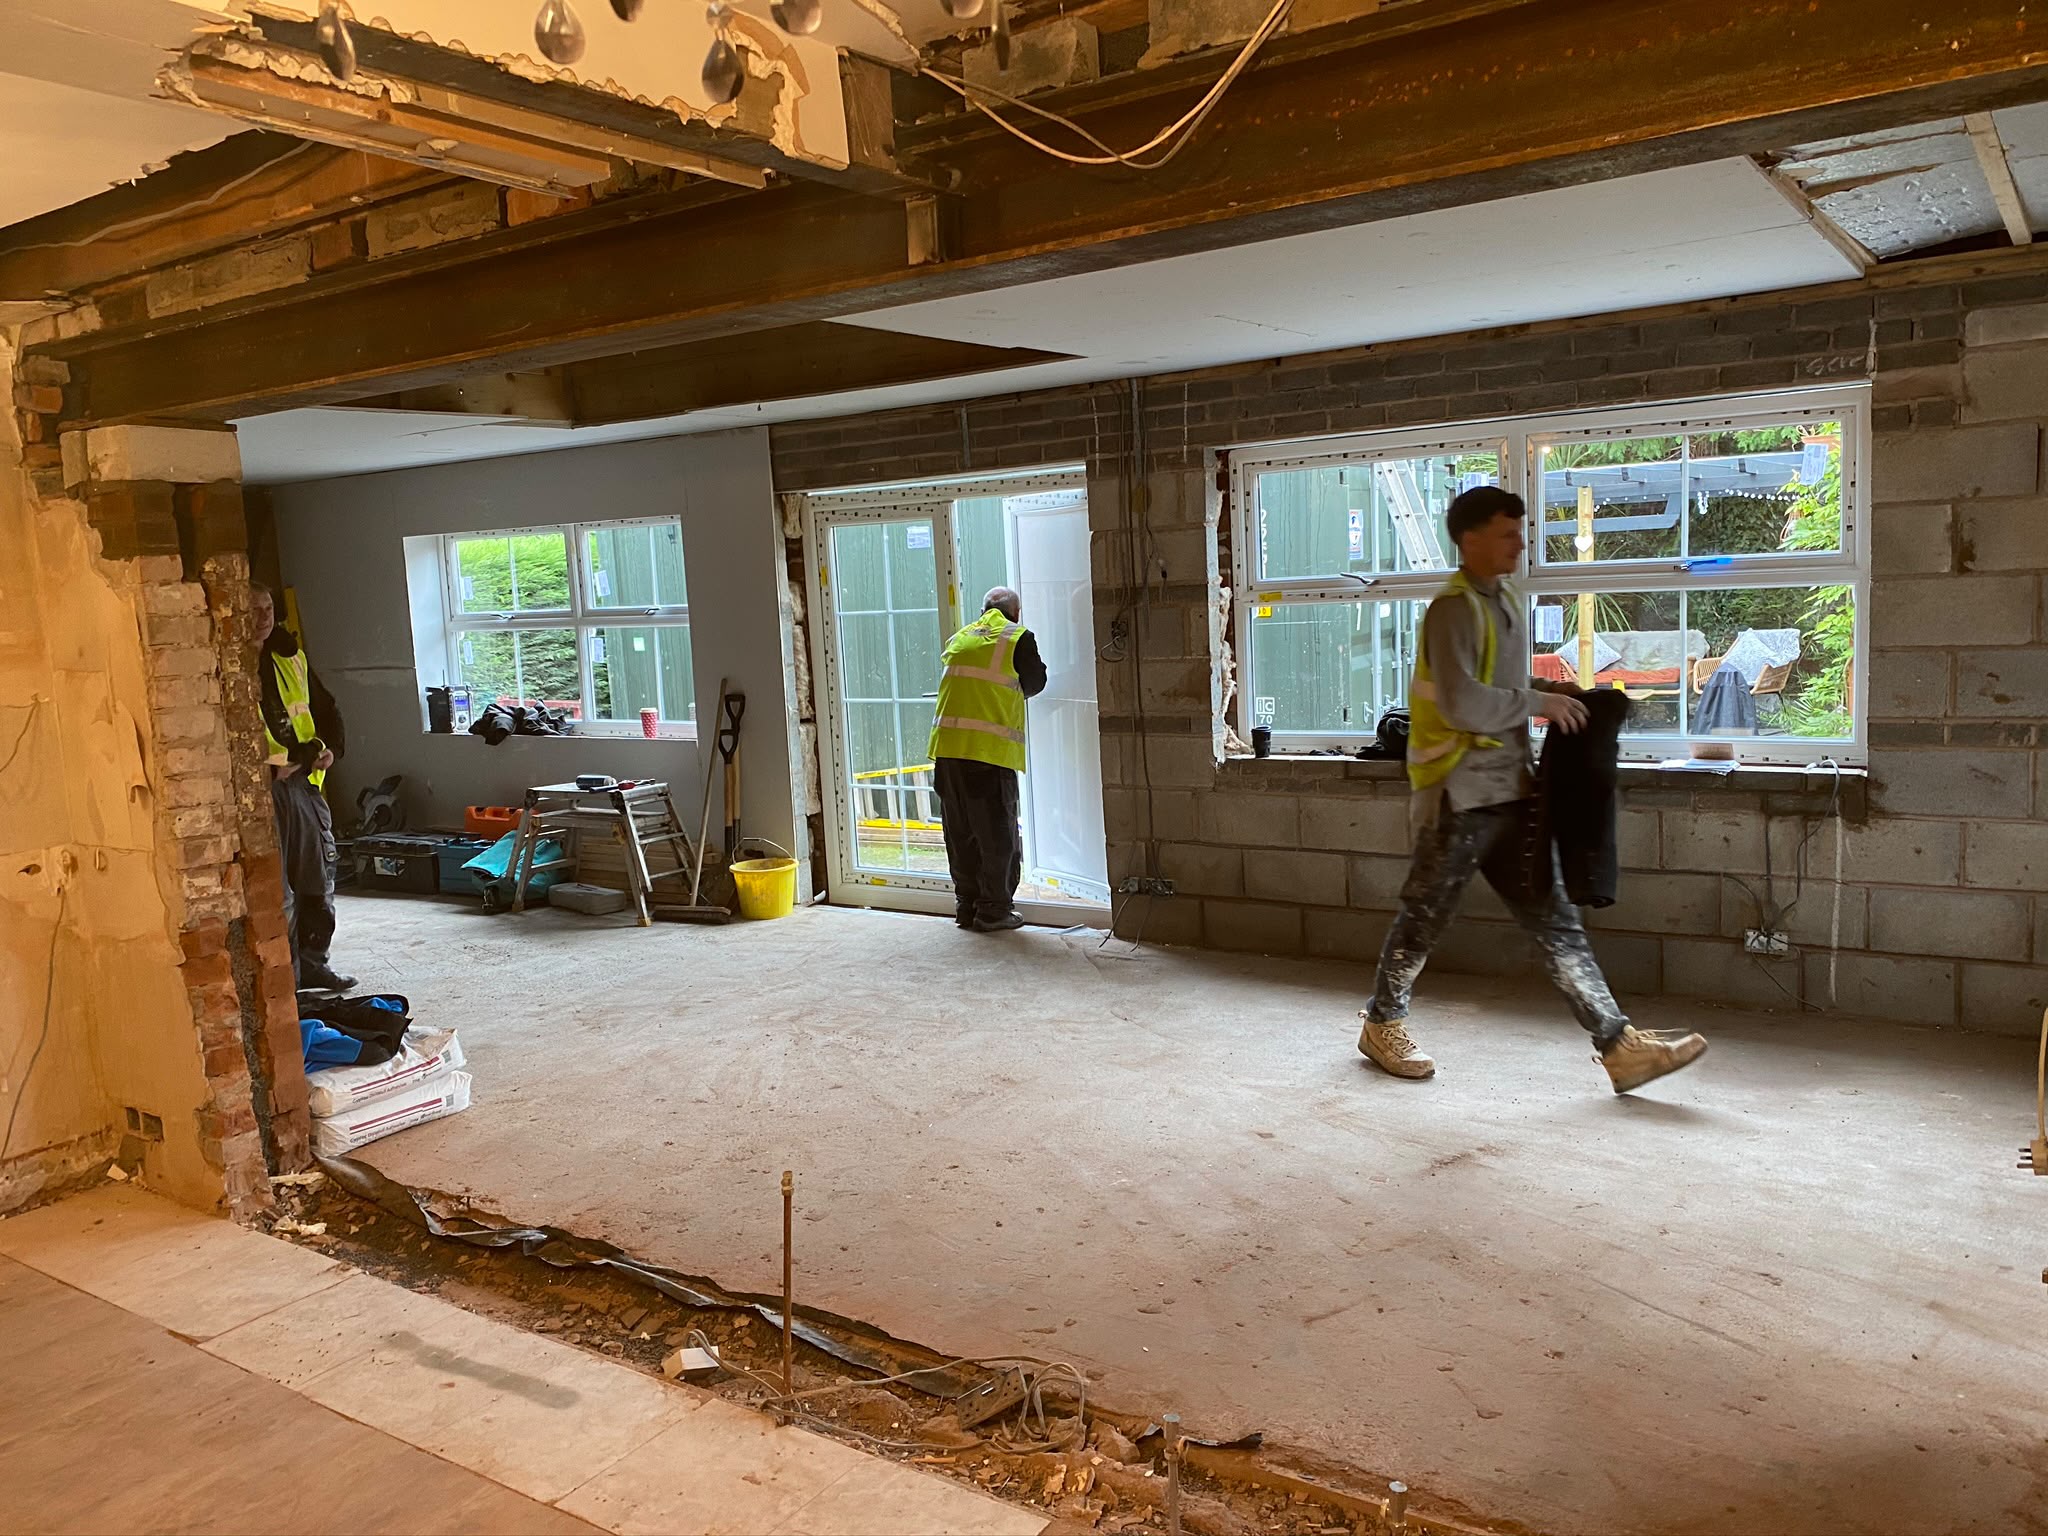
A kitchen refurbishment follows a fixed order: plan and order, strip out, make any building alterations, run first fix plumbing and electrics, plaster, fit the units, template and fit worktops, then add splashbacks, appliances and decoration. The single biggest thing that affects the experience is how much of that is building work rather than just swapping units. A like-for-like refit is quick; moving walls, adding a steel beam or relocating the sink turns it into a proper building project. This guide walks through each stage, the decisions that fall at each point and how to keep a working household going while the kitchen is out of action.
Before anything is removed
Most delays in a kitchen job start before the builder arrives. Units, appliances and worktop materials all have lead times, and the layout has to be fixed before the electrician and plumber can mark out. We agree the design, confirm what is being moved and check what sits behind the walls. If the plan involves taking out a wall to create an open-plan space, that is when we find out whether it is load-bearing and whether an engineer and Building Control need to be involved.
Strip-out and alterations
The old kitchen comes out, along with tiles and sometimes old plaster. This is often where surprises appear: tired wiring, old pipework, damp behind units or uneven floors. Any structural work happens now, such as knocking through to a dining room with a steel beam, blocking up an old door or forming a new opening. Doing this with the room empty is far quicker and cleaner than working around fitted units.
- Old units, worktops and tiles removed and disposed of
- Walls opened up or blocked as the design requires
- Floors checked and levelled ready for new units
First fix and plastering
With the room bare, new cable runs, socket positions, lighting, extractor ducting and water and waste pipes go in to suit the final layout. This is the last easy chance to change a socket position, so walk the room with the plan in hand. Then the walls and ceiling are plastered or re-skimmed, which needs time to dry before painting or tiling. Flooring is sometimes laid at this stage, before the units, depending on the floor finish chosen.
Units, worktops and splashbacks
Base and wall units are fitted, levelled and fixed, then worktops are installed. Laminate and timber tops can often be cut and fitted on site; stone and composite tops are usually templated once the units are in and made to measure, which adds a gap in the programme. Splashbacks follow the worktops, whether tiled, glass or matching stone, along with the sink, taps and hob. Appliances are connected at second fix.
Living without a kitchen
Expect a spell with no working kitchen. Setting up a temporary station in another room with a kettle, microwave, fridge and somewhere to wash up makes a real difference. We plan the order of work so the time without water in the kitchen is kept as short as practical, and we tell you in advance which days will be dustiest or noisiest. Where the kitchen is part of a wider extension, the old kitchen can sometimes stay in use until the new one is ready.
Finishing and handover
Once everything is in, the room is decorated, trims and plinths are fitted and electrics are tested. We then walk through the finished kitchen with you and sort any snags before the job is signed off. Because we handle the building side as well as the fit, you have one team and one point of contact rather than separate trades pointing at each other when something does not line up.