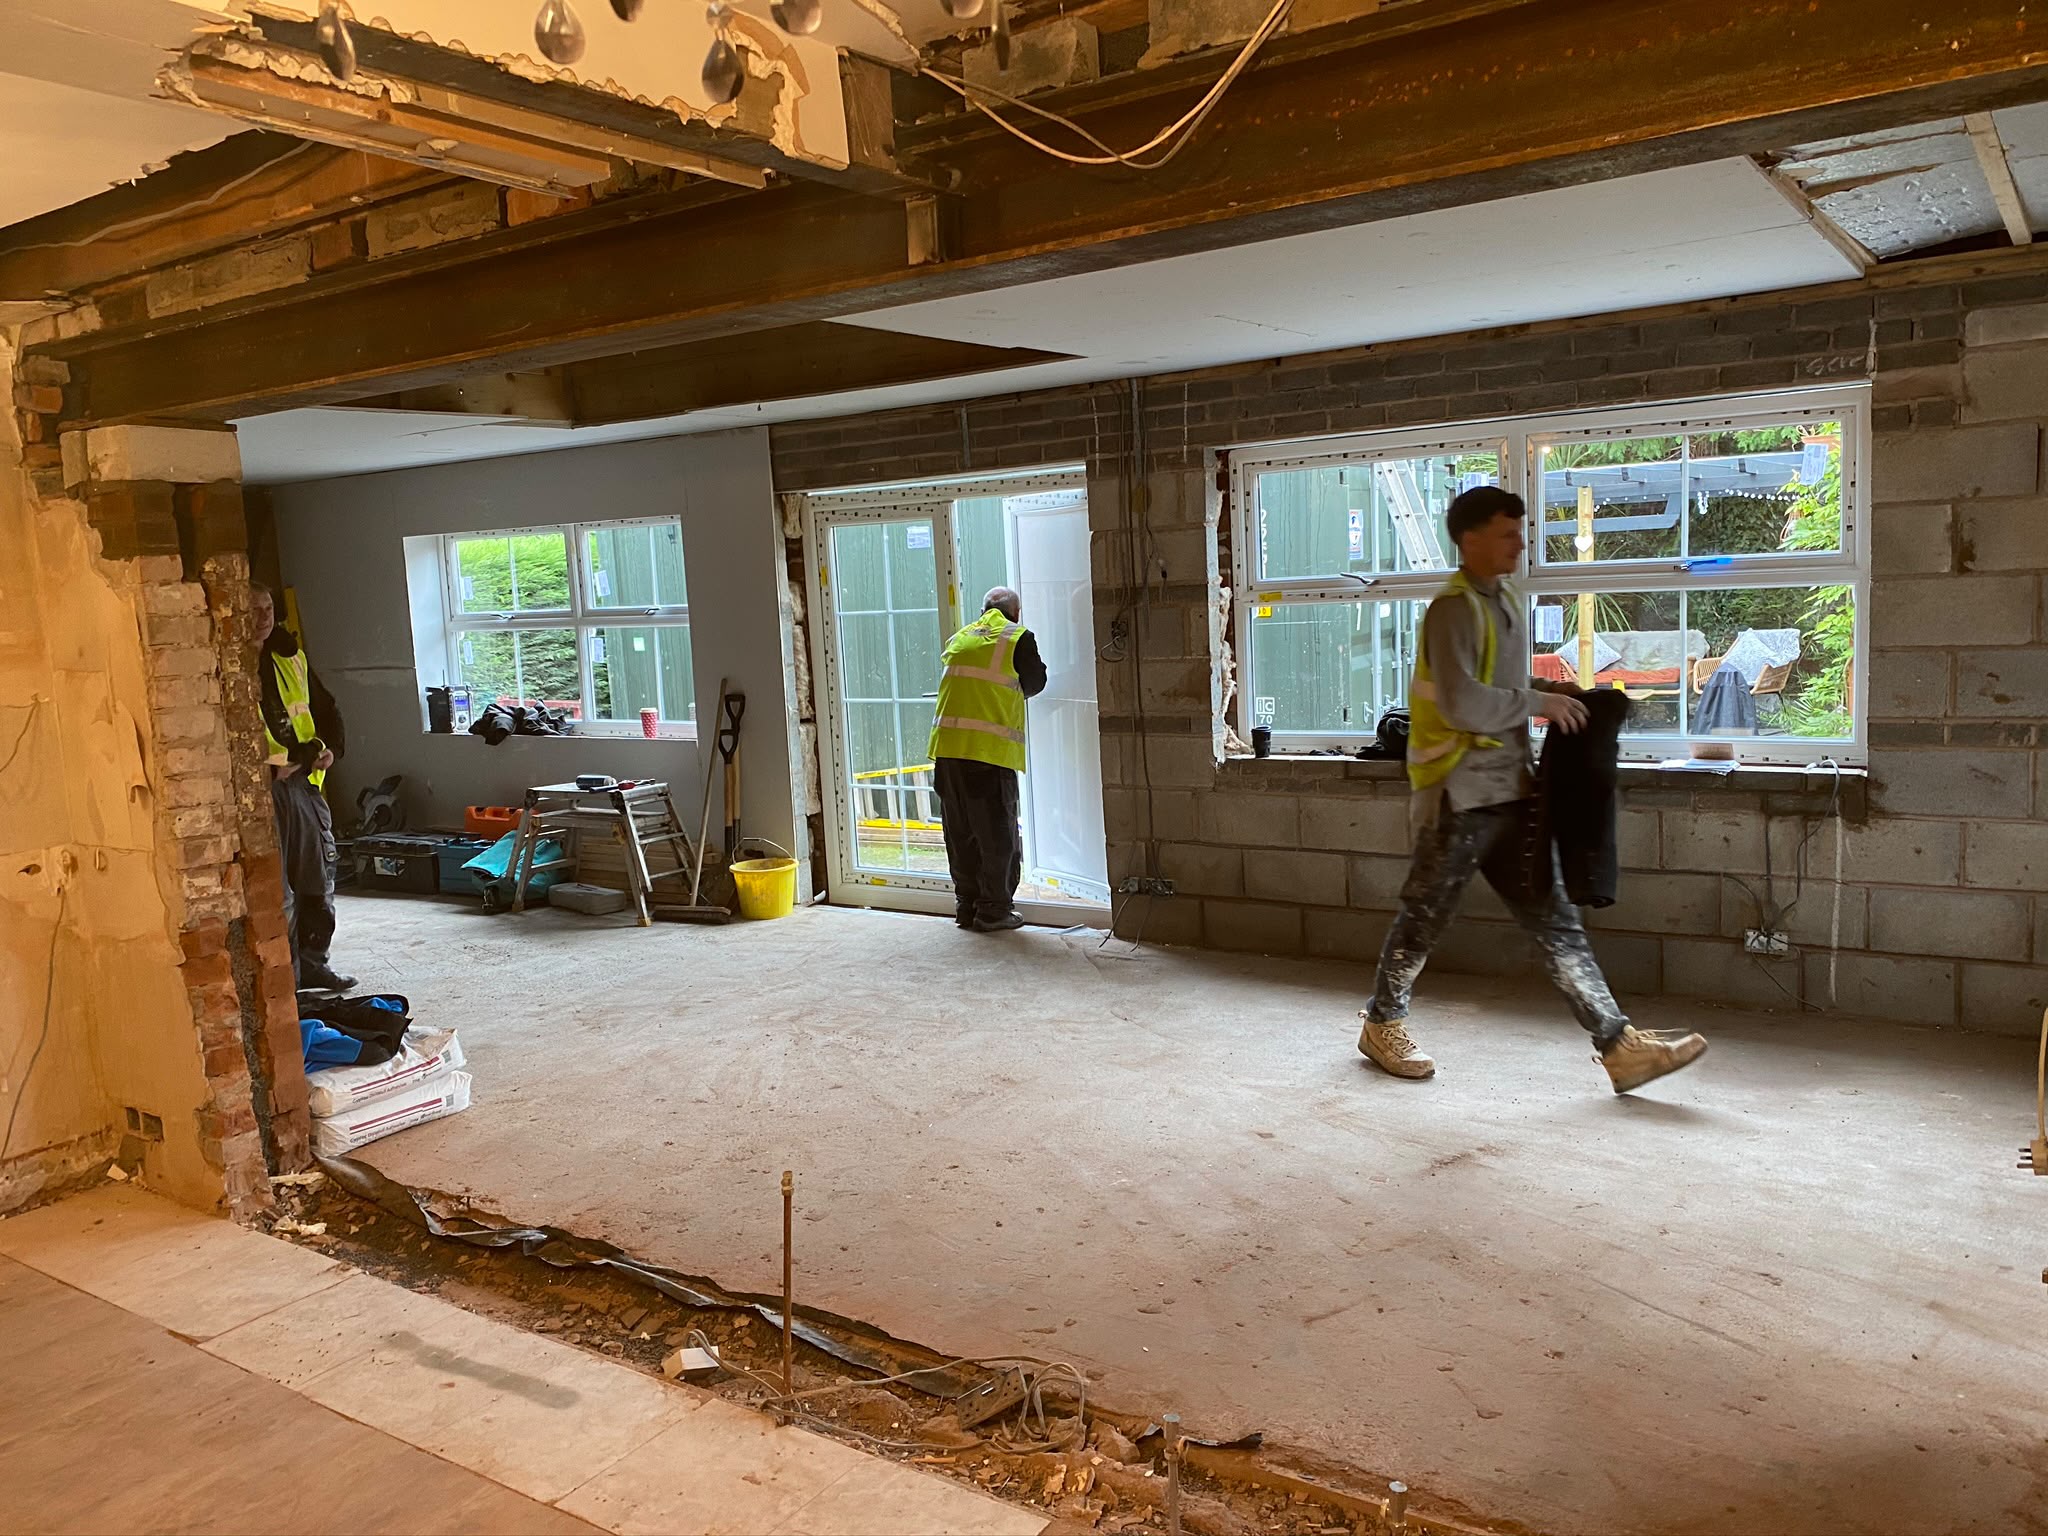
Fitting an RSJ (rolled steel joist) or UB (universal beam) is one of the most common structural jobs in domestic building, whether you are knocking two rooms into one or opening the back of the house for an extension. It looks dramatic on the day the wall comes out, but the work that matters most happens before and after that moment — the engineering, the temporary support, and the fire protection. This guide sets out the sequence properly so you know what should be in a competent installation and what a fair price is built from.
Step 1: structural engineer's calculations
Before anything is touched, a structural engineer needs to assess the loads coming down onto the new beam — the roof, any floors above, and the walls themselves — and produce calculations that size the steel and specify its bearing. These calculations also cover any padstones or connections and are the document building control will ask to see. Skipping this step and guessing a beam size off a supplier's chart is the single most common corner cut on DIY and cowboy jobs, and it is the one most likely to cause problems years later.
Step 2: propping and needling
Once the beam is designed, the load above the wall has to be carried safely while the wall itself is removed. On a single-storey opening this is usually a run of Acrow props on both sides supporting a temporary needle beam through the wall. On a two-storey opening, or where a chimney breast is involved, the sequence gets more involved, sometimes needing strongboys or flying shores. This stage is planned in detail beforehand — it is not something to work out on the day once the wall is half open.
- Acrow props and needle beams for straightforward single-storey openings
- Strongboys where floor joists bear directly onto the wall being removed
- Flying shores or raking shores for taller, more complex openings
Step 3: padstones and bearing
The beam needs to land on something capable of taking a concentrated point load, which ordinary brickwork usually cannot do reliably. Padstones — dense concrete or engineering brick pads — spread the load into the wall below and are sized by the engineer alongside the beam itself. Getting the bearing length and padstone size wrong is a common defect that shows up later as cracking or slight beam deflection, so it is worth checking these details are on the calculations, not just assumed on site.
Step 4: fitting the steel
With props in place and padstones built up, the old wall is cut back, the beam is lifted into position — by hand for shorter, lighter sections, or with lifting gear for longer or heavier ones — and it is packed, levelled and built in. Access is a real factor here: a beam that has to travel through a terraced house needs to be planned for length and weight from the start, sometimes meaning a split beam bolted together on site rather than one continuous section.
Step 5: fire protection
Structural steel loses strength quickly in a fire, so Approved Document B requires it to achieve a minimum period of fire resistance, usually 30 or 60 minutes depending on its location and the building. This is achieved with fire-rated plasterboard encasing (commonly two or three layers depending on the rating), intumescent paint, or a proprietary casing system. This stage is often underestimated in DIY pricing because it looks like ordinary boarding, but it is a specified, tested build-up rather than a finishing choice.
Step 6: building control sign-off
Removing or altering a load-bearing wall is notifiable building work, so building control — either the local authority or an approved inspector — will inspect the beam, bearings and fire protection, cross-checked against the engineer's calculations, before issuing a completion certificate. This certificate is what you show a buyer's solicitor or a mortgage surveyor later, so it is not paperwork worth skipping even where you feel confident the work is sound.
Typical beam sizes, spans and indicative costs
The table below gives a rough feel for how beam size relates to span and cost, but every case depends on the loading above, the wall construction and site access, so treat it as orientation rather than a quote.
| Beam size (indicative) | Typical span | Common use | Indicative supply + install cost |
|---|---|---|---|
| 127 x 76mm UB | Up to approx. 2.4m | Small internal opening, single storey load | £900–£1,600 |
| 152–178mm UB | Approx. 2.4m–3.5m | Standard knock-through, single storey | £1,400–£2,400 |
| 203–254mm UB | Approx. 3.5m–4.5m | Wider opening or light floor load above | £1,900–£3,200 |
| Goalpost frame (beam + columns) | Full-width rear opening | Open-plan extension link | £3,500–£7,000+ |
Figures are broad indicative UK ranges including engineer's calculations, propping, steel, fire protection and making good. They vary significantly by region, access, and the loads above — a site visit and engineer's assessment is needed for an accurate figure.